Dashboard Install and Configuration
HADashboard is a dashboard for Home Assistant that is intended to be wall mounted, and is optimized for distance viewing.
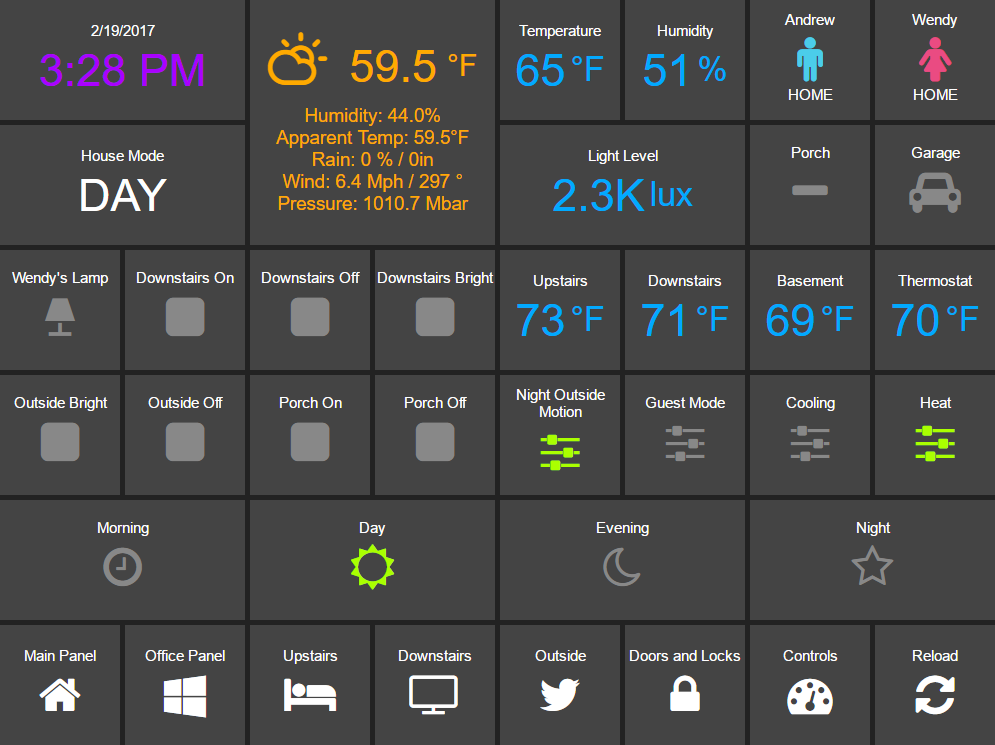
UI
Installation and Configuration
HADashboard is dependent upon AppDaemon. As a first step please refer to the AppDaemon Installation Documentation.
When you have AppDaemon installed and running, configuration of the
Dashboard is pretty simple. You just need to add a directive to the
config file - dash_url.
This and the optional dash_dir directive should be in the top of the
file under a new HADashboard: section.
dash_url- the url you want the dashboard service to listen on
For instance:
HASS:
  ha_url: <some_url>
  ...
HADashboard:
  dash_url: http://192.168.1.20:5050
To enable https support for HADashboard, add the following directives pointing to your certificate and keyfile:
dash_ssl_certificate: /etc/letsencrypt/live/somehost/fullchain.pem
dash_ssl_key: /etc/letsencrypt/live/somehost/privkey.pem
To password protect HADashboard use the dash_password directive:
dash_password: some_password
Or you can use the secret function and place the actual password in your secrets.yaml file:
dash_password: !secret dash_password
By default, dashboards are searched for under the config directory in a
sub directory called dashboards. Optionally, you can place your
dashboards in a directory other than under the config directory using
the dash_dir directive.
e.g.:
HADashboard:
dash_dir: /etc/appdaemon/dashboards
Next, you will need to create the dashboards directive either under
the conf directory, or wherever you specify with dash_dir. Once that
is done, for testing purposes, create a file in the dashboards directory
called Hello.dash and paste in the following:
##
## Main arguments, all optional
##
title: Hello Panel
widget_dimensions: [120, 120]
widget_margins: [5, 5]
columns: 8

label:
    widget_type: label
    text: Hello World

layout:
    - label(2x2)
When you have added the lines to the config and created the dashboards
directory and test dashbboard, restart AppDaemon and you will be ready
to go. If you navigate to the top level, e.g.
http://192.168.1.20:5050 in the case above, you will see a welcome
page with a list of configured dashboards. If you haven’t yet configured
any the list will be empty.
When you have created a dashboard you can navigate to it by going to
http://192.168.1.20:5050/<Dashboard Name>
If you are using AppDaemon just for the dasboard and not the Apps, you can disable the app engine with the following directive:
AppDaemon:
  disable_apps: 1
This will free up some CPU and memory.
HADashboard pre-compiles all of the user created Dashboard for efficiency. It will detect when changes have been made to widgets, styles or dahsboards and automatically recompile. This is usually desirable as compilation can take several seconds on slower hardware for a fully loaded dashboard, however to force a recompilation every time, use the following directive:
HADashboard:
dash_force_compile: 1
This will force dashboard recompilation whenever the dashboard is
loaded. You can also force a recompilation by adding the parameter
recompile=1 to the dashboard URL.
By default, information and errors around access to the Dashboard will
go to the same place as AppDaemon’s log. To split the page access out to
a different file, use the accessfile directive, e.g.:
HADashboard:
accessfile: /var/log/dash_access
To force dashboard recompilation of all dashboards after a restart, use:
HADashboard:
dash_compile_on_start: 1
This should not be necessary but may on occasion be required after an upgrade to pickup changes.
Dashboard URL Parameters
The dashboard URL supports a couple of extra parameters:
skin- name of the skin you want to use, default isdefaultrecompile- set to anything to force a recompilation of the dashboard
For example, the following url will load a dasboard called main with the obsidian skin:
http://<ip address>:<port>/Main?skin=obsidian